Difference between revisions of "RLV BASIC RELAY"

From Fractured Reality
Jump to: navigation, search
Line 34: Line 34:
 
|
 
|
 
* Do this until it says [mode:auto]
 
* Do this until it says [mode:auto]
|
+
|[[File:rlv_relay4.png|50px]]
 
|-
 
|-
 
|
 
|
Line 60: Line 60:
 
[[File:rlv_relay6.png|200px]]
 
[[File:rlv_relay6.png|200px]]
 
[[File:rlv_relay5.png|200px]]
 
[[File:rlv_relay5.png|200px]]
[[File:rlv_relay4.png|200px]]
+


[[File:rlv_relay2.png|200px]]
 
[[File:rlv_relay2.png|200px]]

Revision as of 18:13, 3 March 2019

__NO EDITSECTION__

FRACTURED RLV SETUP

Basic Viewer Setup Basic Folder Setup Basic Relay Setup
About RLV SmartStrip Folders SmartStrip Relay Setup
AutoAttach AutoAttach Folders Quick Start

Basic Relay Setup

The hud Should be attached to your screen somewhere and is probably red. Rlv relay1.png
  • Click on the hud and a menu will pop up on your screen.
  • Click on the [mode] button the menu will go away and come back.
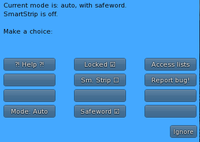
Rlv relay3.png
  • Do this until it says [mode:auto]
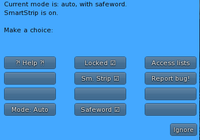
Rlv relay4.png
  • Click on the locked button. There should be a check mark in the box.
    • This prevents your RLV hud from being accidentally detached.
  • Click on the safeword button and watch for messages on your screen.
    • The box should appear to be half checked and you should see the message "RLV Relay: OK, a bit more fun! Especially when you are not alone!"
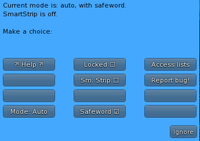
  • Make sure the [Sm. Strip] box is NOT checked. ((Yet))

You are now Ready for Adventure. Enjoy.

Rlv relay6.png Rlv relay5.png


Rlv relay2.png Rlv relay1.png